- Published on
How to Set Up Your Own Heroku-like Cloud (PAAS) in 10 Minutes
Table of Contents
- Why?
- Get server & install Docker
- Set up an Ubuntu VPS
- Create VPS Instance
- Configure Firewall
- In GCP
- Install Docker
- Set up CapRover
- Install CapRover on the server
- Set up DNS
- Install CapRover CLI on your local machine
- Complete CapRover Setup & Log in to the Dashboard
- Complete CapRover Setup
- Log in to the Dashboard
- Install the One-Click Apps from the Dashboard
- Sources and More Information
Why?
When building projects one of the annoying parts is setting up stuff like web servers, relational databases, caching, etc. It’s often expensive (Heroku charges $25/month for their 1 GB instance, the same server is 5/month on DigitalOcean) or tedious to set up and manage. I no longer enjoy spending hours and days setting up a server, build tools, sending code to the server, build it, get an SSL certificate, install it, update Nginx over and over again whenever I have a new project.
That’s where open-source PAASs came in. They often have an extremely easy-to-use app/database deployment & web server manager that you set up once. Examples: CapRover, Coolify, Dokku, Kubero, etc.
All you need is a server. You can then deploy multiple apps/databases/etc. on it effortlessly. I use it to run multiple PosgreSQL databases, Redis instances, and media servers for my (mostly hobby) projects in a very low-cost and easy way.
For example, with CapRover, you can host the below with one click:
- Databases and Database GUIs. Eg PostgreSQL, Redis, MySQL, MongoDB, etc.
- Email hosting, newsletter & mailing list solutions.
- Customer support, CMSs, ERPs, CRMs, LMSs & Invoicing solutions.
- Analytics.
- Blogging and Content. Eg: Ghost, Jekyll, WordPress, etc.
- CI/CD.
- Dev tools (monitoring, notifications, URL shorteners, backups, etc).
- Cloud storage, FTP & media servers.
- Torrent clients.
- Document servers (text documents, spreadsheets & presentations).
- And more.
- Literally anything wrapped in a Docker container.
Requirements:
- Own a domain.
- Have some familiarity with the Cloud, Linux and Docker.
Get server & install Docker
Set up an Ubuntu VPS
Good providers:
- https://cloud.google.com/free/docs/gcp-free-tier/#compute (Free )
- https://www.oracle.com/ke/cloud/free/#always-free (Free if you can manage to sign up lol)
- https://contabo.com/en/vps/
- https://www.netcup.eu/vserver/vps.php#v-server-details
- https://www.ovhcloud.com/en/vps/compare/
- https://www.racknerd.com/kvm-vps
- https://www.hetzner.com/cloud
Create VPS Instance
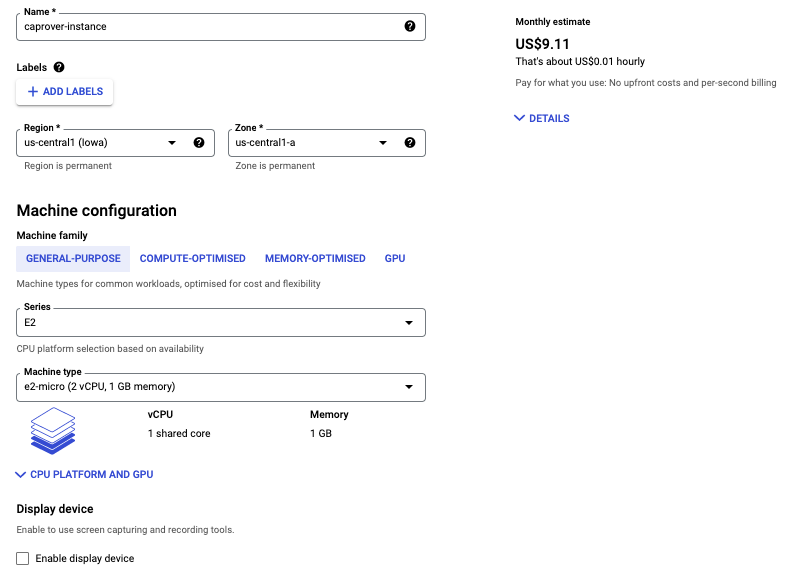
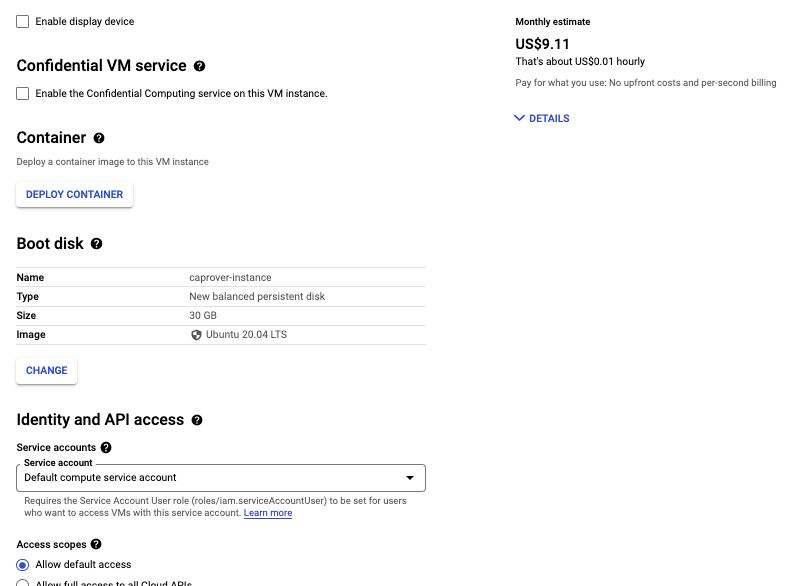
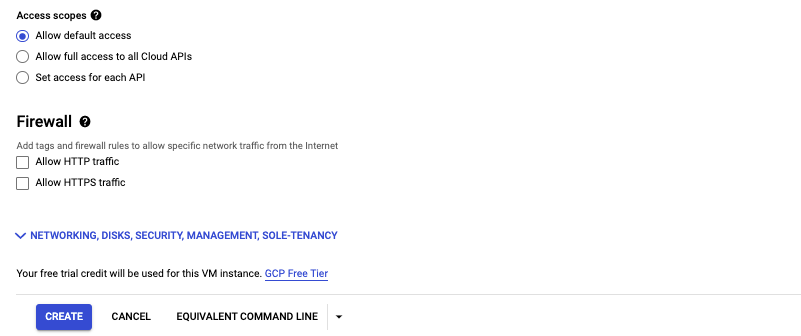
I’ll be using the free virtual machine (Compute Engine) from the Google Cloud Platform. Feel free to use any other provider.
Create an Ubuntu instance from the GCP Dashboard.
Configure Firewall
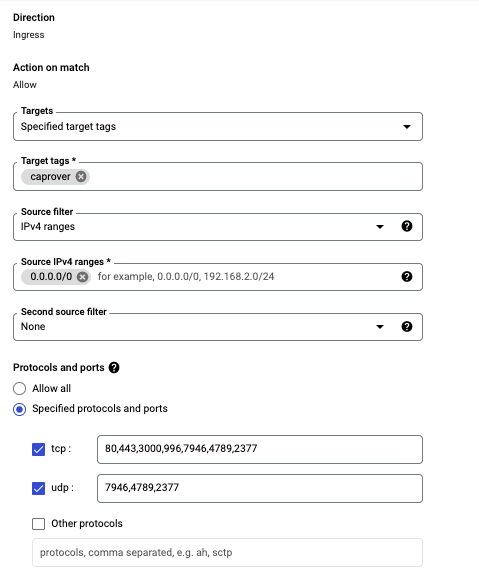
Add firewall rules to allow network traffic from the following:
- 80 TCP for regular HTTP connections.
- 443 TCP for secure HTTPS connections.
- 3000 TCP for initial Installation (can be blocked once attached to a domain).
- 7946 TCP/UDP for Container Network Discovery.
- 4789 TCP/UDP for Container Overlay Network.
- 2377 TCP/UDP for Docker swarm API.
- 996 TCP for secure HTTPS connections specific to Docker Registry.
In the case of an Ubuntu server, run:
ufw allow 80,443,3000,996,7946,4789,2377/tcp; ufw allow 7946,4789,2377/udp;
Your VPS provider may have a different way to configure the firewall.
In GCP
In the case of GCP, we can create firewall rules from the Networking Dashboard:
Note that I’ve created a network tag caprover that we’ll use next.
From the Compute Engine dashboard, edit the virtual machine we created, adding the caprover network tag.

Install Docker
SSH into the VM and install Docker.
This can be done using the get convenience script:
curl -fsSL https://get.docker.com -o get-docker.sh

sudo sh get-docker.sh
Sample output:

Set up CapRover
Install CapRover on the server
Run the following to install CapRover:
sudo docker run -p 80:80 -p 443:443 -p 3000:3000 -v /var/run/docker.sock:/var/run/docker.sock -v /captain:/captain caprover/caprover
NOTE: do not change the port mappings. CapRover only works on the specified ports.
You will see a bunch of outputs on your screen. Once the CapRover is initialised, you can visit http://[IP_OF_YOUR_SERVER]:3000 in your browser and log in to CapRover using the default password captain42. You can change your password later. However, do not make any changes in the dashboard. We'll use the command line tool to set up the server.
Set up DNS
Let's say you own mydomain.com. Set *.something.mydomain.com as an A-record in your DNS settings to point to the IP address of the server where you installed CapRover.
Find more info here.
Install CapRover CLI on your local machine
npm install -g caprover
Complete CapRover Setup & Log in to the Dashboard
Complete CapRover Setup
Run the following on your local machine:
caprover serversetup
Follow the steps and login to your CapRover instance. When prompted to enter the root domain, enter something.mydomain.com assuming that you set *.something.mydomain.com to point to your IP address in step #Set up DNS. Now you can access your CapRover from captain.something.mydomain.com and log in.
Log in to the Dashboard
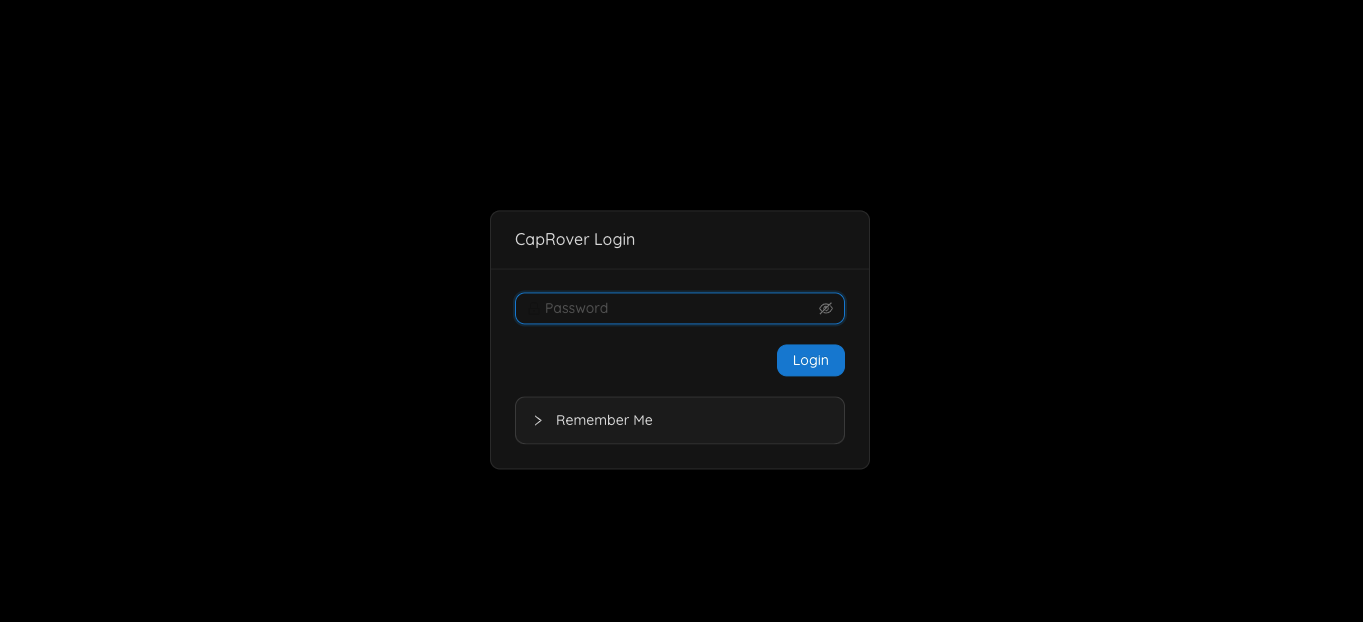
Visit the CapRover dashboard at http://captain.something.mydomain.com and log in using the password you set up in the 'Set up DNS' step.
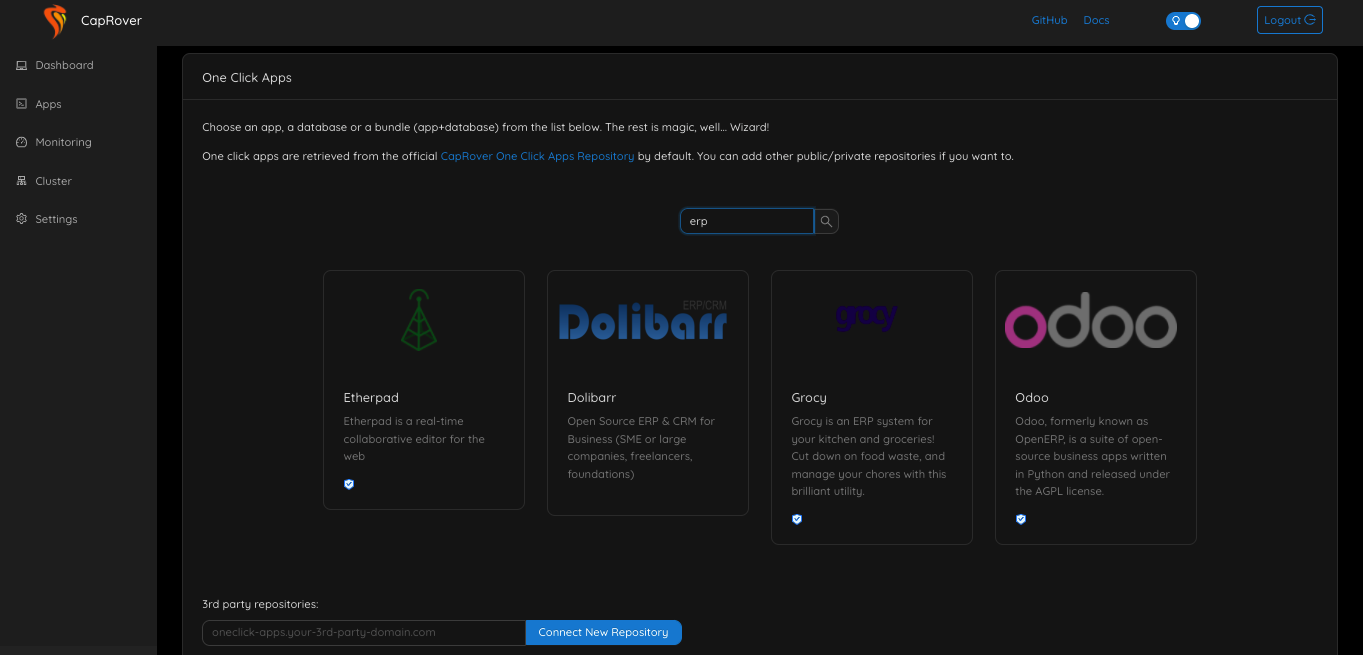
Install the One-Click Apps from the Dashboard
